

We have lined iOS localization in a number of tutorials, together with one which reveals find out how to totally localize an app utilizing String Catalogs. Nevertheless, these tutorials depend on the system language to find out the app’s language. However what if you wish to give customers the power to decide on their most popular language, whatever the system setting? And what if you’d like the language to replace immediately—with out restarting the app? That’s precisely what this tutorial will train you.
Earlier than we get began, I like to recommend reviewing the sooner iOS localization tutorial should you’re not aware of String Catalogs. The demo app used on this tutorial builds on the one from that information.
The Demo App
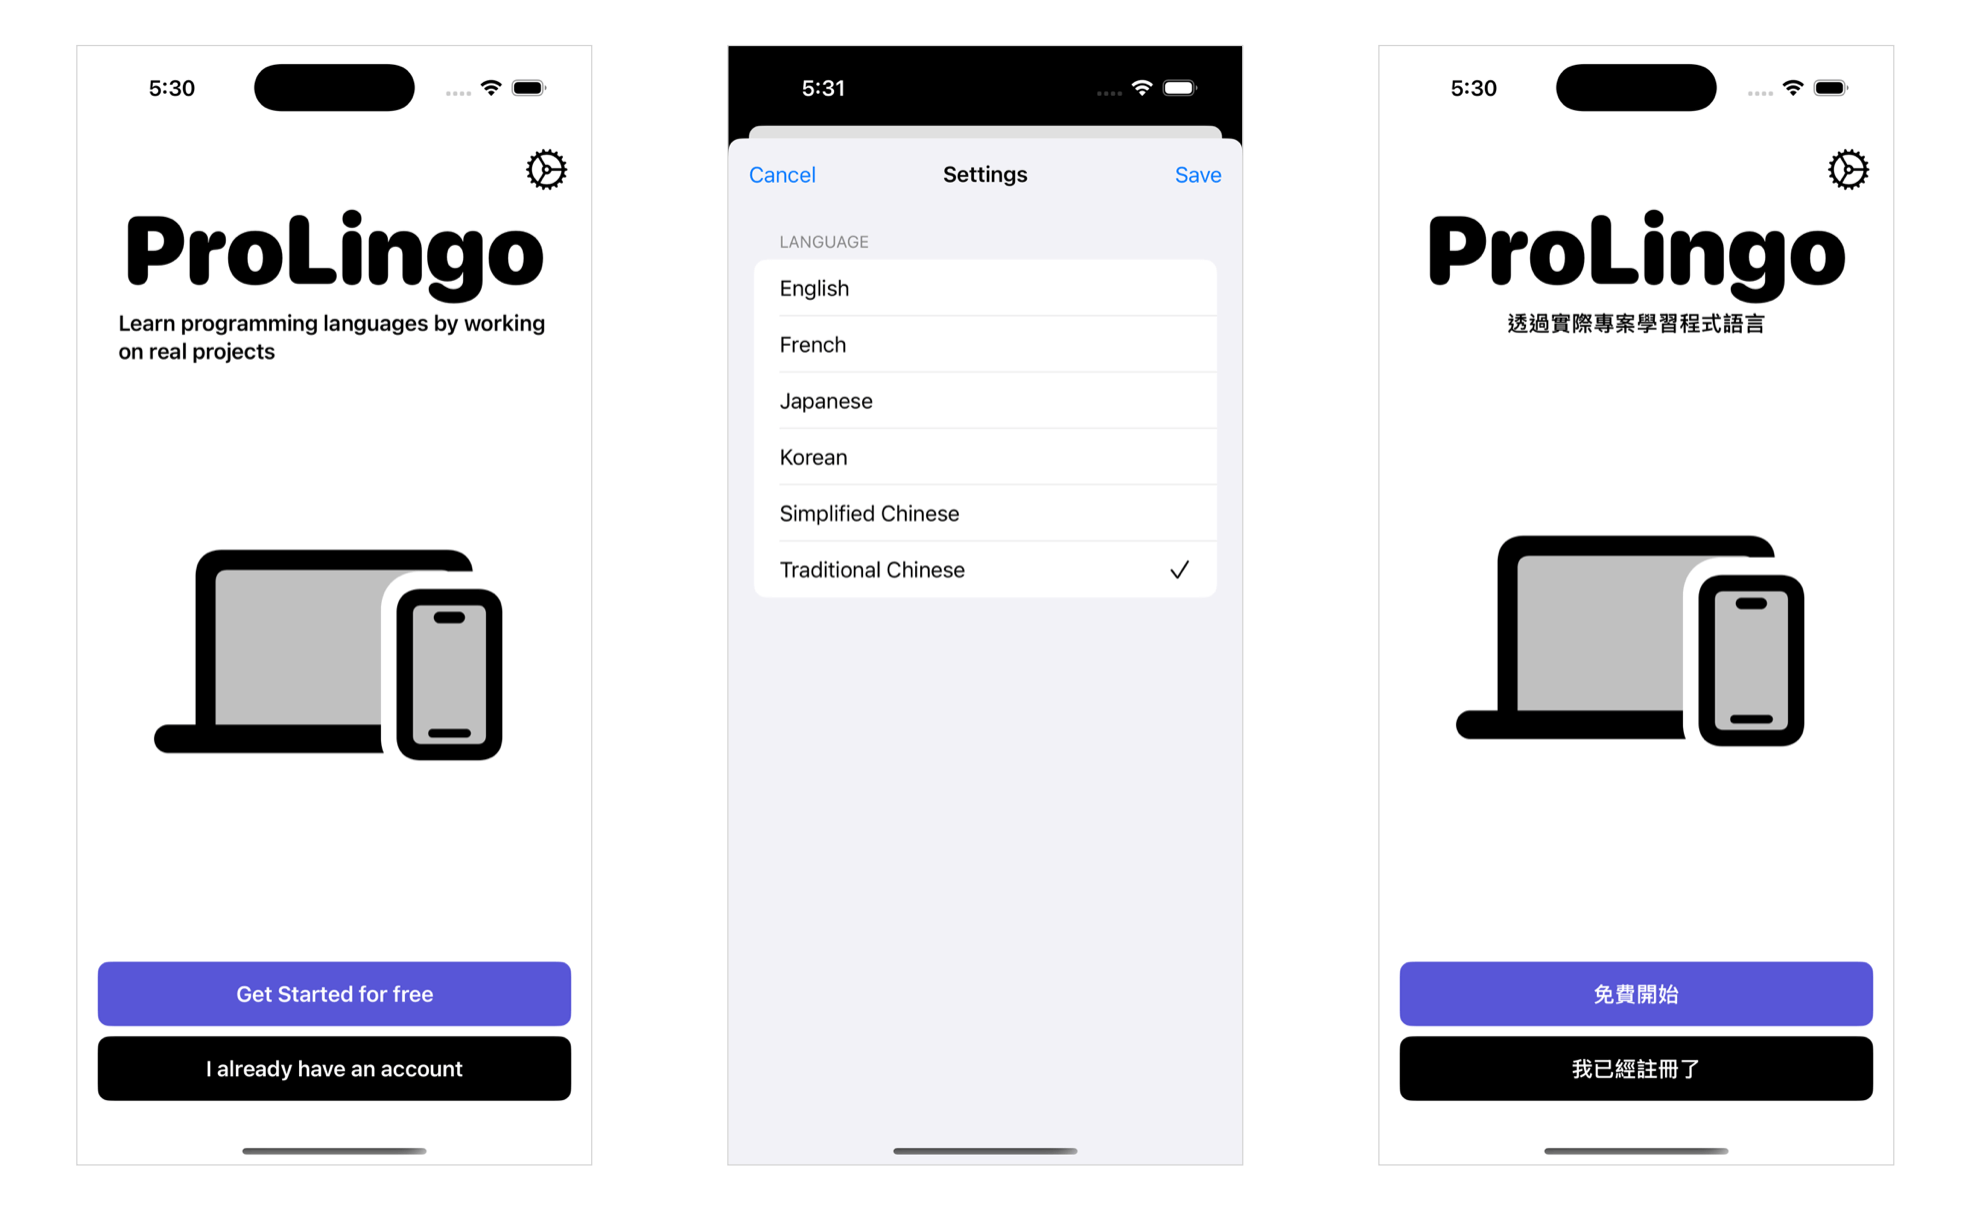
We’re reusing the demo app from our iOS localization tutorial—a easy app with fundamental UI components for example localization ideas. On this tutorial, we’ll prolong it by including a Settings display that lets customers choose their most popular language. The app will then replace the language immediately, without having to restart.
Including App Languages and App Settings
Earlier than we begin constructing the Setting display, let’s first add an AppLanguage enum and an AppSetting class to the undertaking. The AppLanguage enum defines the set of languages that your app helps. Right here is the code:
enum AppLanguage: String, CaseIterable, Identifiable {
    case en, fr, jp, ko, zhHans = "zh-Hans", zhHant = "zh-Hant"

    var id: String { rawValue }

    var displayName: String {
        swap self {
        case .en: return "English"
        case .fr: return "French"
        case .jp: return "Japanese"
        case .ko: return "Korean"
        case .zhHans: return "Simplified Chinese language"
        case .zhHant: return "Conventional Chinese language"
        }
    }
}
Every case within the enum corresponds to a selected language, utilizing normal locale identifiers as uncooked values. For instance, .en maps to "en" for English, .fr to "fr" for French, and so forth. The displayName computed property offers a user-friendly label for every language. As a substitute of displaying uncooked locale codes like “en” or “zh-Hans” within the UI, this property returns readable names corresponding to “English” or “Simplified Chinese language.”
The AppSetting class, which conforms to the ObservableObject protocol, is a straightforward observable mannequin that shops the consumer’s chosen language. Right here is the code:
class AppSetting: ObservableObject {
    @Printed var language: AppLanguage = .en
}
By default, the language is about to English. Later, when the consumer selects a unique language from the Settings display, updating this property will trigger SwiftUI views that depend on the app’s locale to re-render utilizing the brand new language.
Constructing the Setting Display screen
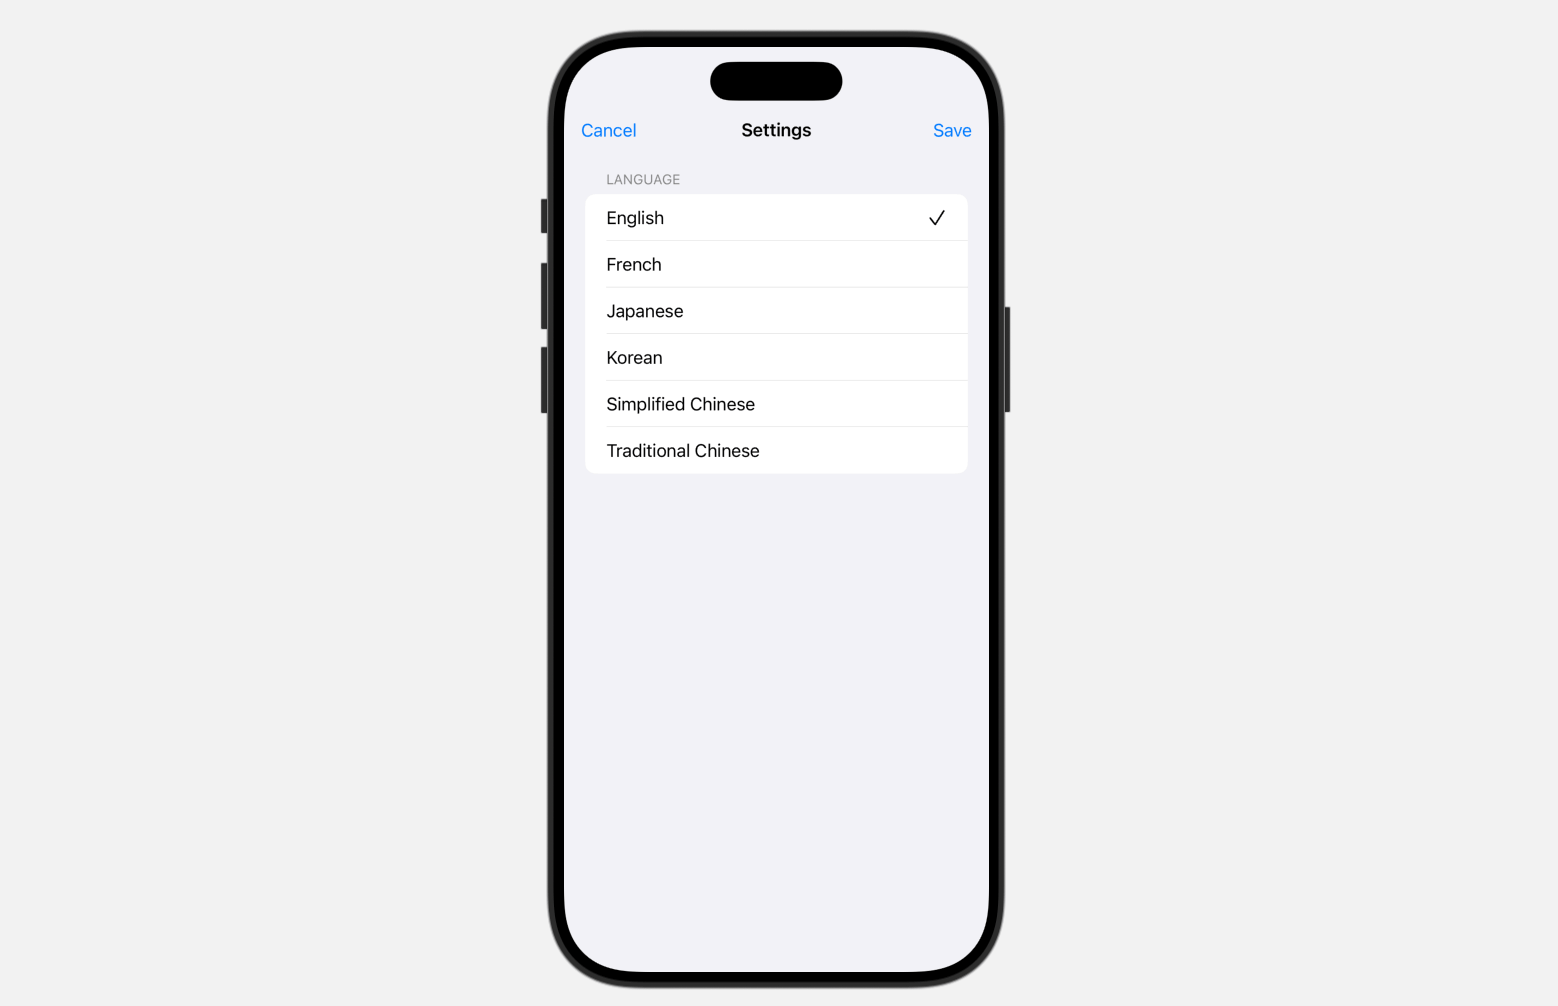
Subsequent, let’s construct the Settings display. It’s a easy interface that shows an inventory of all of the supported languages. Beneath is the code for implementing the setting view:
struct SettingView: View {

    @Setting(.dismiss) var dismiss

    @EnvironmentObject var appSetting: AppSetting

    @State non-public var selectedLanguage: AppLanguage = .en

    var physique: some View {
        NavigationStack {
            Type {
                Part(header: Textual content("Language")) {
                    ForEach(AppLanguage.allCases) { lang in

                        HStack {
                            Textual content(lang.displayName)

                            Spacer()

                            if lang == selectedLanguage {
                                Picture(systemName: "checkmark")
                                    .foregroundColor(.main)
                            }

                        }
                        .onTapGesture {
                            selectedLanguage = lang
                        }
                    }
                }
            }

            .toolbar {
                ToolbarItem(placement: .topBarTrailing) {
                    Button("Save") {
                        appSetting.language = selectedLanguage
                        dismiss()
                    }
                }

                ToolbarItem(placement: .topBarLeading) {
                    Button("Cancel") {
                        dismiss()
                    }
                }
            }
            .navigationTitle("Settings")
            .navigationBarTitleDisplayMode(.inline)

        }
        .onAppear {
            selectedLanguage = appSetting.language
        }
    }
}

#Preview {
    SettingView()
        .environmentObject(AppSetting())
}
The view merely lists the obtainable languages as outlined in AppLanguage. The at present chosen language reveals a checkmark subsequent to it. When the consumer faucets “Save,” the chosen language is saved to the shared AppSetting object, and the view is dismissed.
In the principle view, we add a Setting button and use the .sheet modifier to show the Setting view.
struct ContentView: View {

    @EnvironmentObject var appSetting: AppSetting

    @State non-public var showSetting: Bool = false

    var physique: some View {
        VStack {

            HStack {
                Spacer()

                Button {
                    showSetting.toggle()
                } label: {
                    Picture(systemName: "gear")
                        .font(.system(dimension: 30))
                        .tint(.main)
                }


            }

            Textual content("ProLingo")
                .font(.system(dimension: 75, weight: .black, design: .rounded))

            Textual content("Study programming languages by engaged on actual tasks")
                .font(.headline)
                .padding(.horizontal)

           .
           .
           .
           .
           .
           .

        }
        .padding()
        .sheet(isPresented: $showSetting) {
            SettingView()
                .environmentObject(appSetting)
        }

    }
}
Enabling Actual-Time Language Adjustments
At this level, tapping the gear button will deliver up the Settings view. Nevertheless, the app does not replace its language when the consumer selects their most popular language. To implement dynamic language switching, now we have to connect the .atmosphere modifier to ContentView and replace the locale to match the consumer’s choice like this:
VStack {
   ...
}
.atmosphere(.locale, Locale(identifier: appSetting.language.id))
This line of code injects a customized Locale into the SwiftUI atmosphere. The .locale key controls which language and area SwiftUI makes use of for localizable views like Textual content. The locale is about to match the language the consumer chosen in settings.
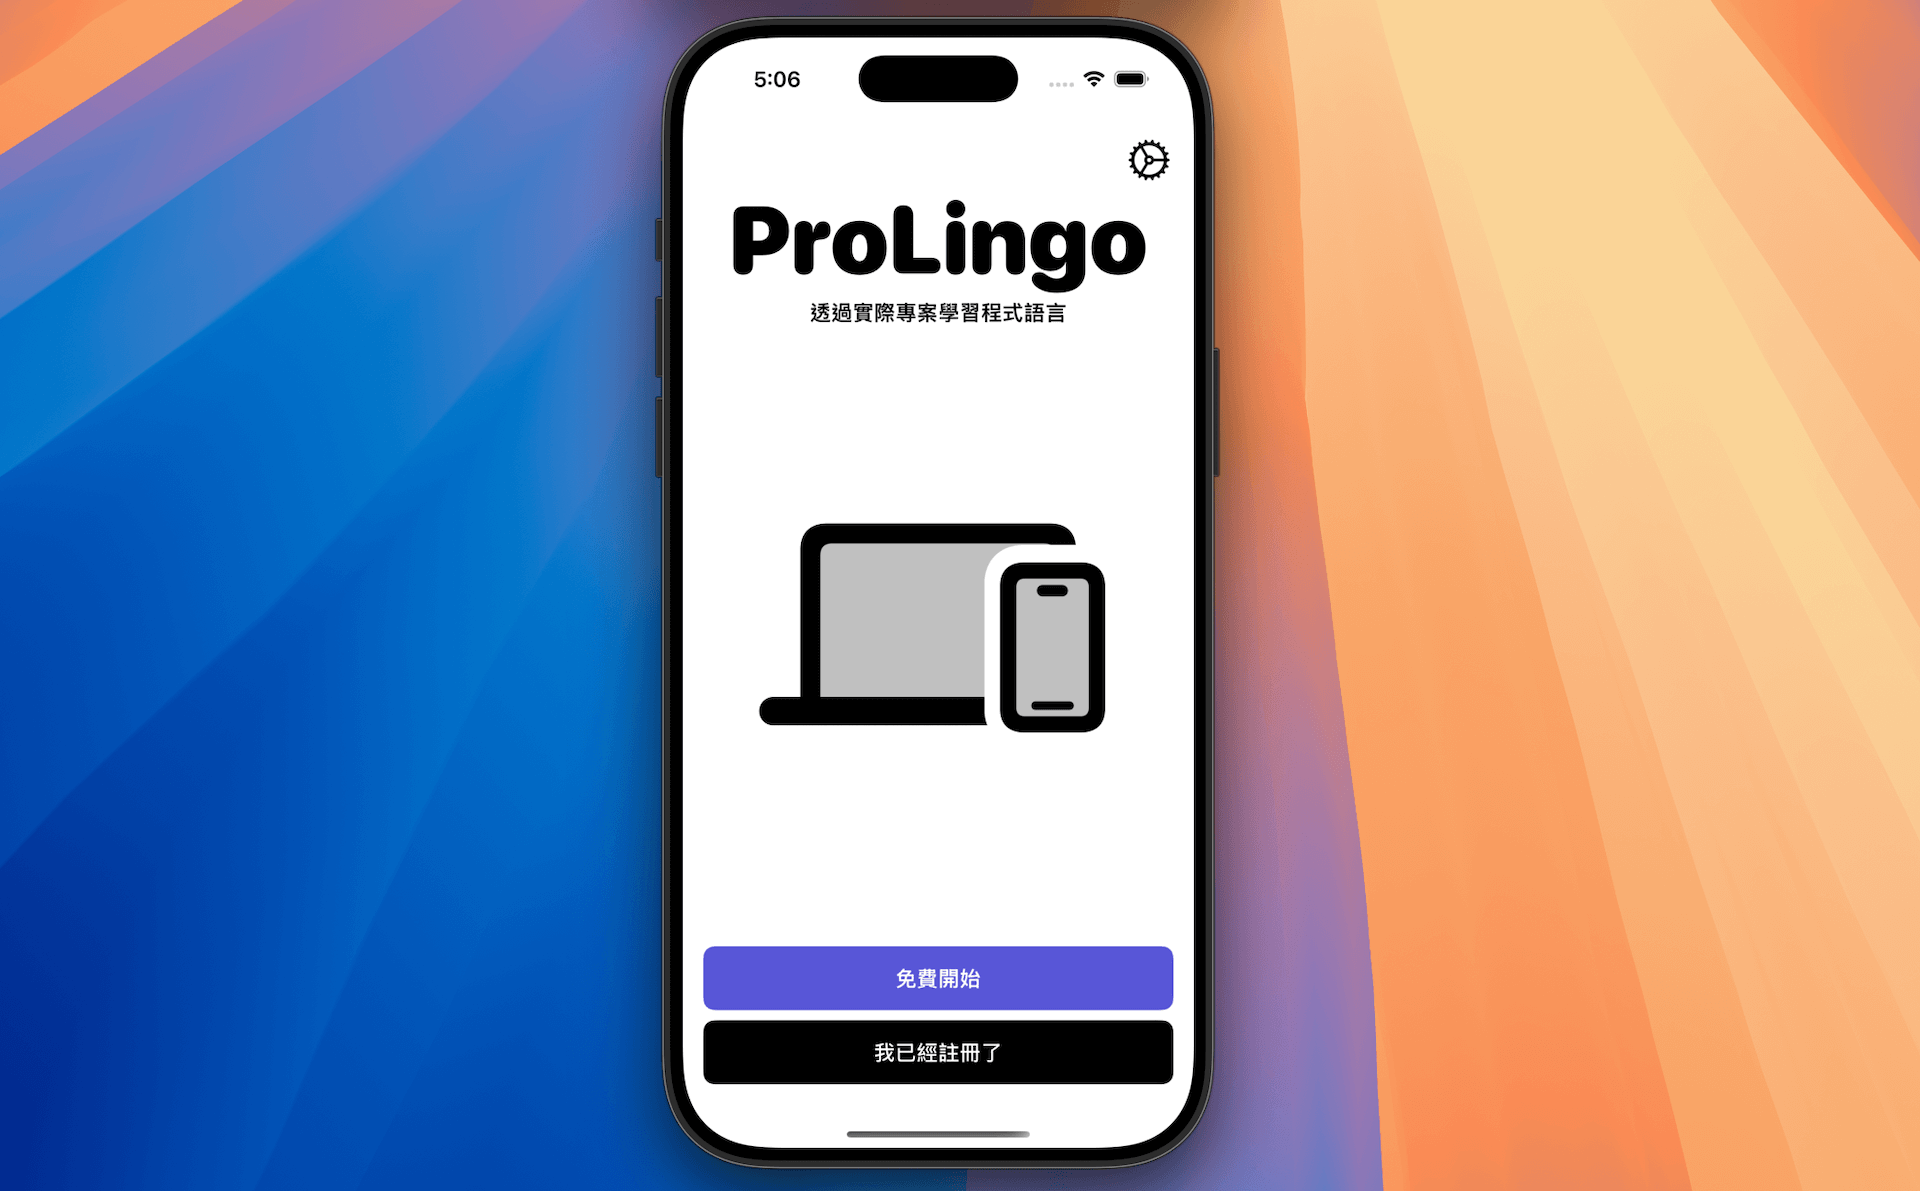
The app can now replace its language on the fly. For instance, open the Settings view and choose Conventional Chinese language. After saving your choice and returning to the principle view, you may see the UI immediately up to date to show all textual content in Conventional Chinese language.
Utilizing LocalizedStringKey
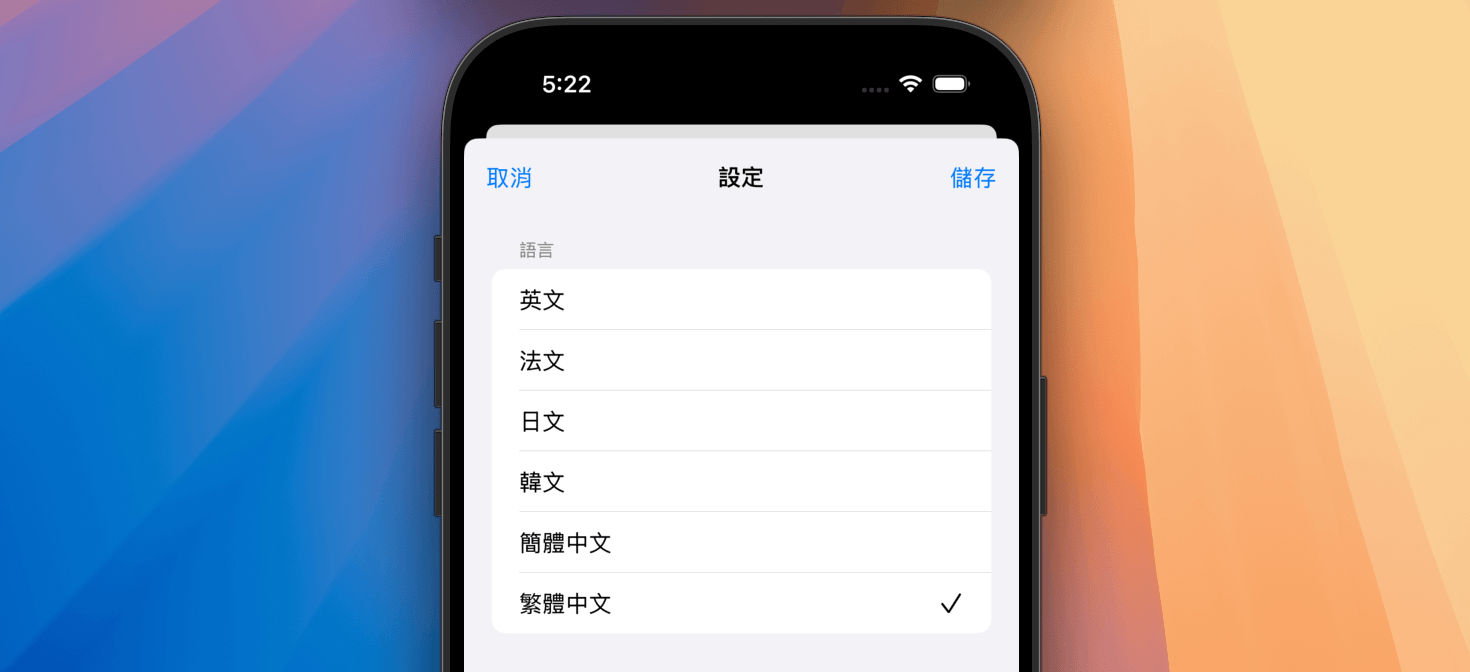
Chances are you’ll discover a bug within the app. After altering the language to Conventional Chinese language (or different languages) and reopening the Settings view, the language names nonetheless show in English.

Let’s check out the code that handles the show of language title:
Textual content(lang.displayName)
Chances are you’ll surprise why the Textual content view doesn’t deal with the localization mechanically. On this case, SwiftUI treats lang.displayName as a plain textual content, which implies no computerized localization occurs, even when the string matches a key within the String Catalog file. To make the localization work, it’s good to convert the String to a LocalizedStringKey like this:
Textual content(LocalizedStringKey(lang.displayName))
Utilizing LocalizedStringKey triggers the localization lookup course of. Whenever you run the app once more, you may see the language names within the Settings view displayed in your chosen language.
Abstract
On this tutorial, you realized find out how to implement in-app language switching in iOS utilizing SwiftUI, permitting customers to vary languages with out restarting the app. We explored find out how to create a Settings display for language choice, enabled real-time localization updates, and realized the significance of utilizing LocalizedStringKey for correct string localization.
The code and ideas offered right here present a basis for implementing language switching in your individual iOS apps. Be happy to adapt this method in your personal iOS apps that require multi-language help.