

Learn to set a customized working listing in Xcode to unravel one of the vital frequent newbie problem when utilizing Vapor.
What’s a customized working listing?
While you attempt to construct and run your Vapor utility utilizing Xcode you may face the difficulty that there are some lacking information, assets or Leaf templates. Don’t fear this can be a quite common rookie mistake, however what causes this drawback precisely? 🤔
Vapor is utilizing a spot known as working listing to set the present setting, find frequent assets and publicly accessible information. This working listing often accommodates a Sources folder the place you may put your Leaf templates and a Public folder which is utilized by the FileMiddleware. The server can also be attempting to seek for potential dotenv information to configure environmental variables.
When you run your backend utility with out explicitly setting a customized working listing, it is best to see a warning message in Xcode’s console. If you’re utilizing Feather CMS, the app will crash with no customized working listing set, as a result of it’s required to offer a working setting. 🙃

When you don’t specify this tradition work dir, Xcode will attempt to search for the assets underneath a random, however uniquely created place someplace underneath the DerivedData listing.
That is the interior construct folder for the IDE, it often creates numerous different “rubbish” information into the ~/Library/Developer/Xcode/DerivedData listing. In 99% of the instances you may safely delete its contents if you wish to carry out a 100% clear construct. 👍
The right way to set a customized working listing?
To start with, open your venture in Xcode by double clicking the Package deal.swift manifest file.
WARN: Do NOT use the
swift bundle generate-xcodeprojcommand to generate a venture file!!! It is a deprecated Swift Package deal Supervisor command, and it’s going to be eliminated quickly.
✅ I repeat: all the time open SPM initiatives by means of the Package deal.swift file.
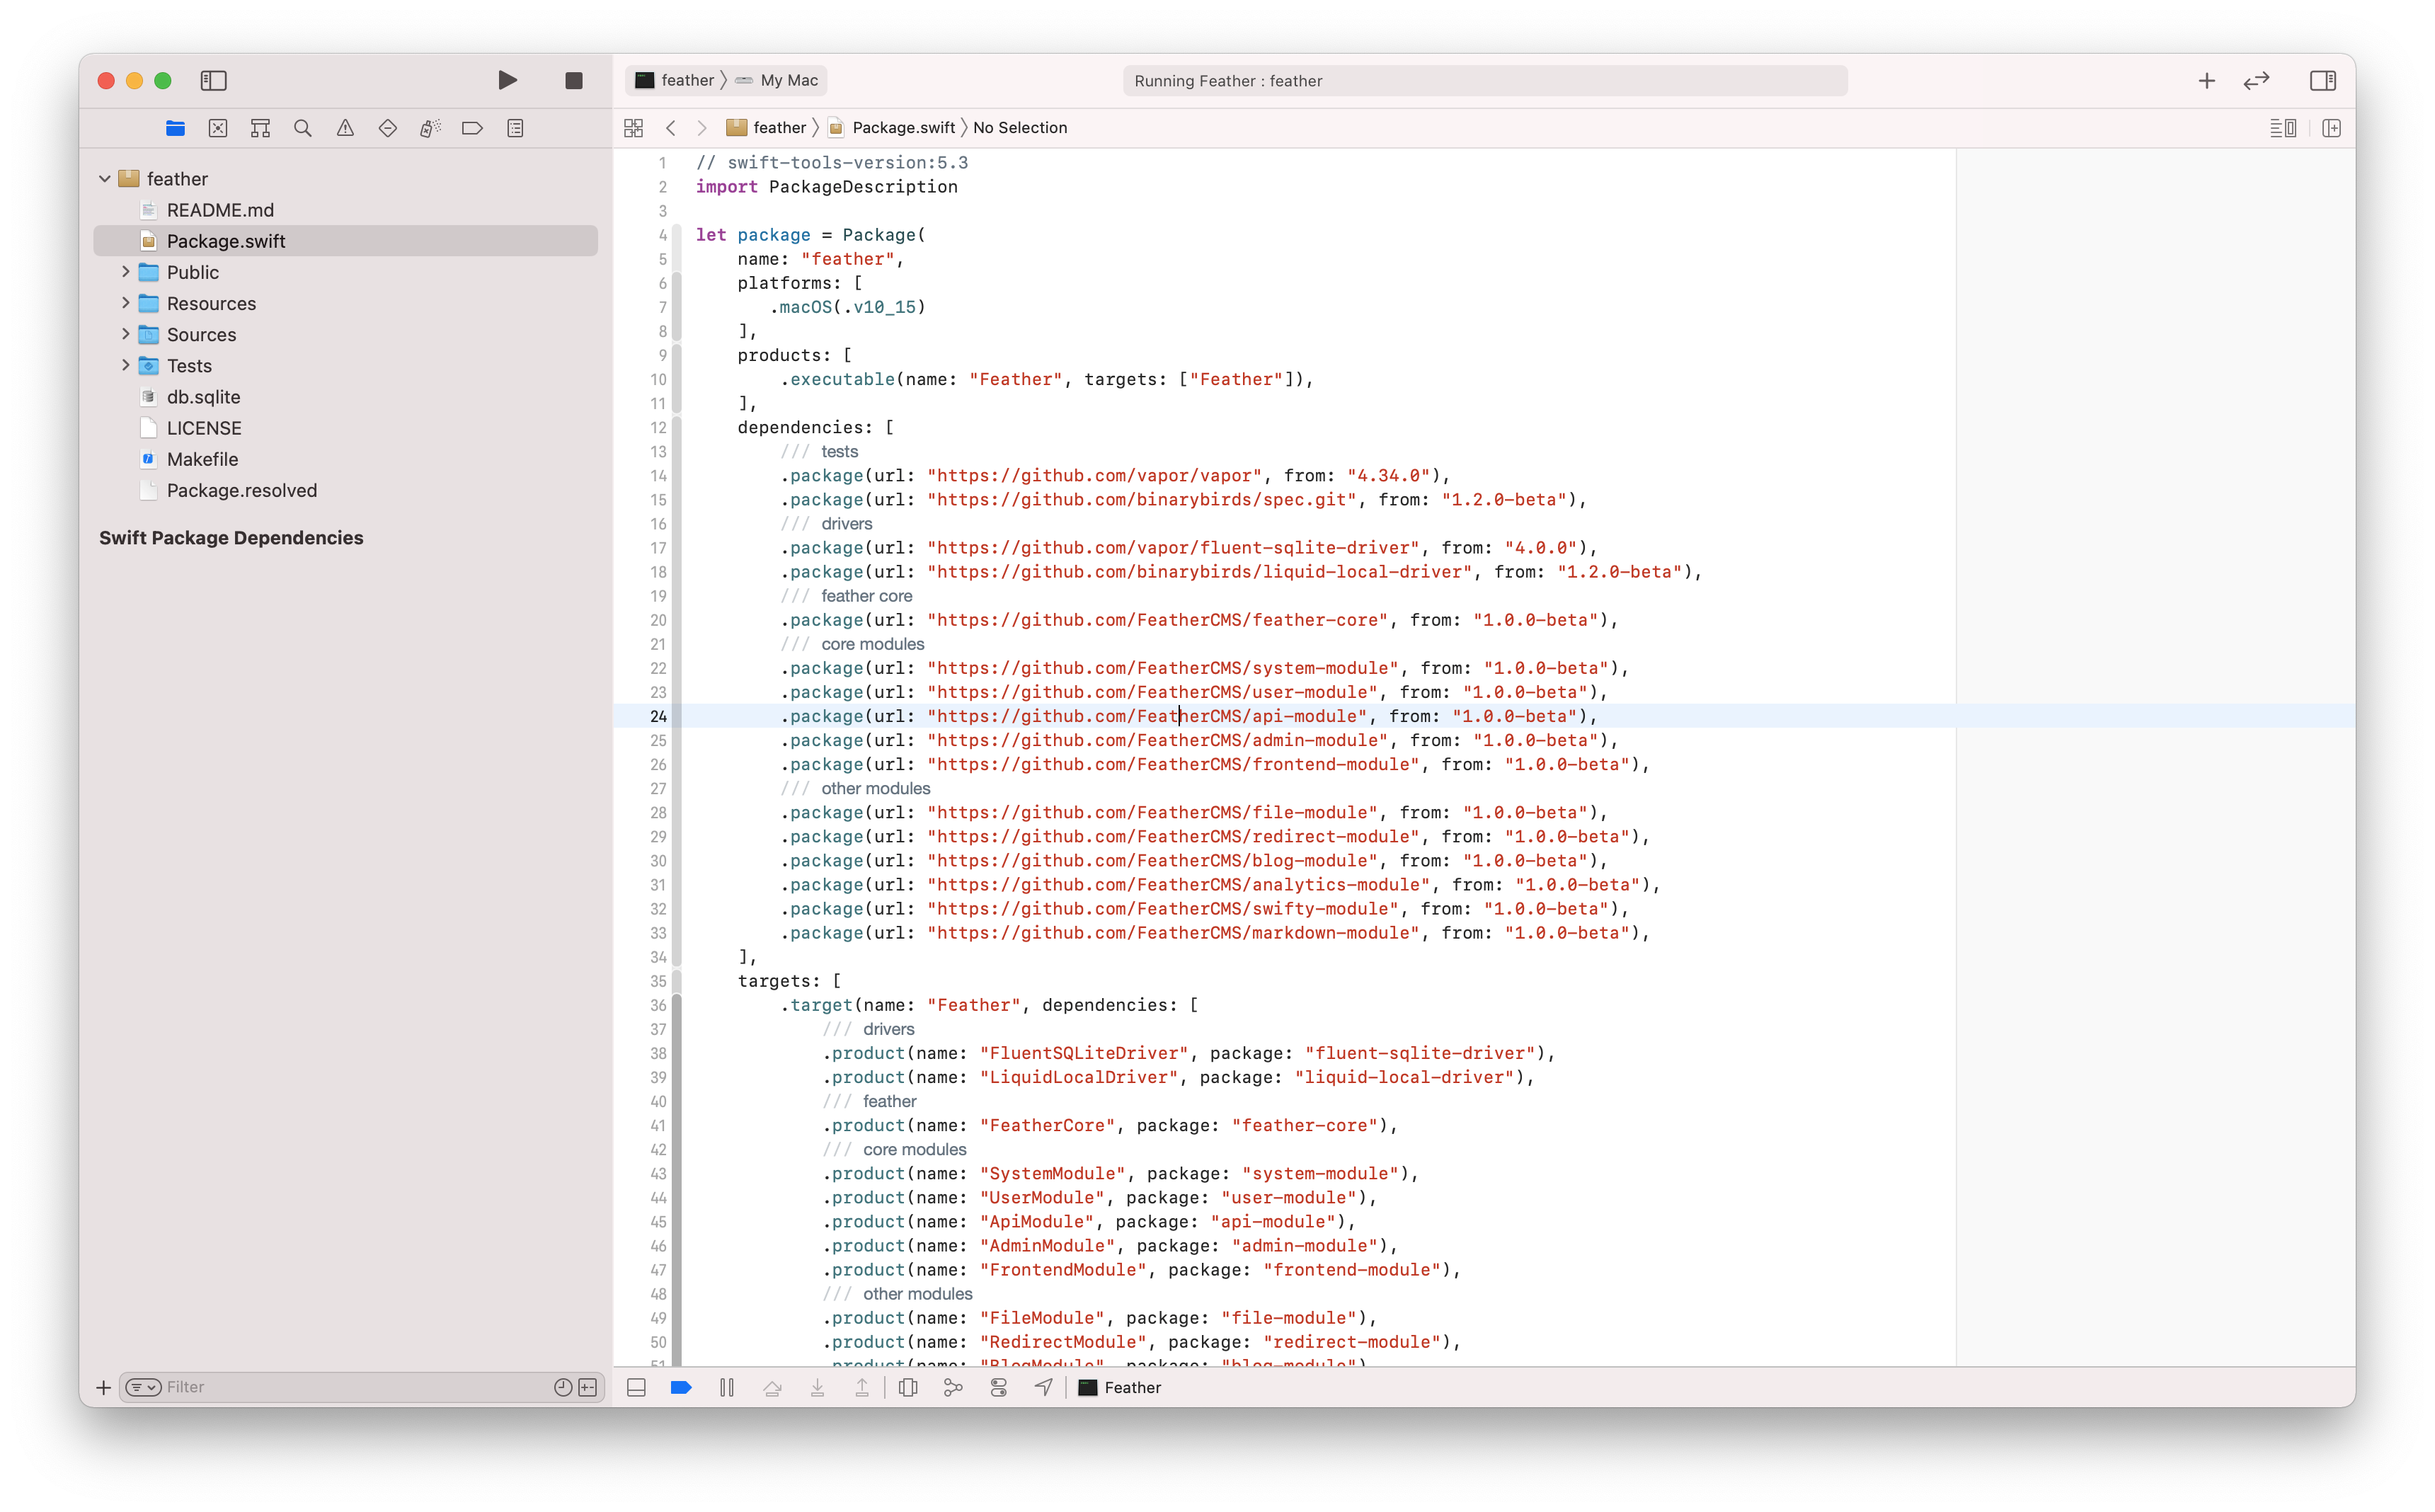
Wait till the IDE hundreds the required Swift packages. After the dependencies are loaded, click on on the goal subsequent to the cease button. The executable goal is marked with slightly terminal-like icon. 💡
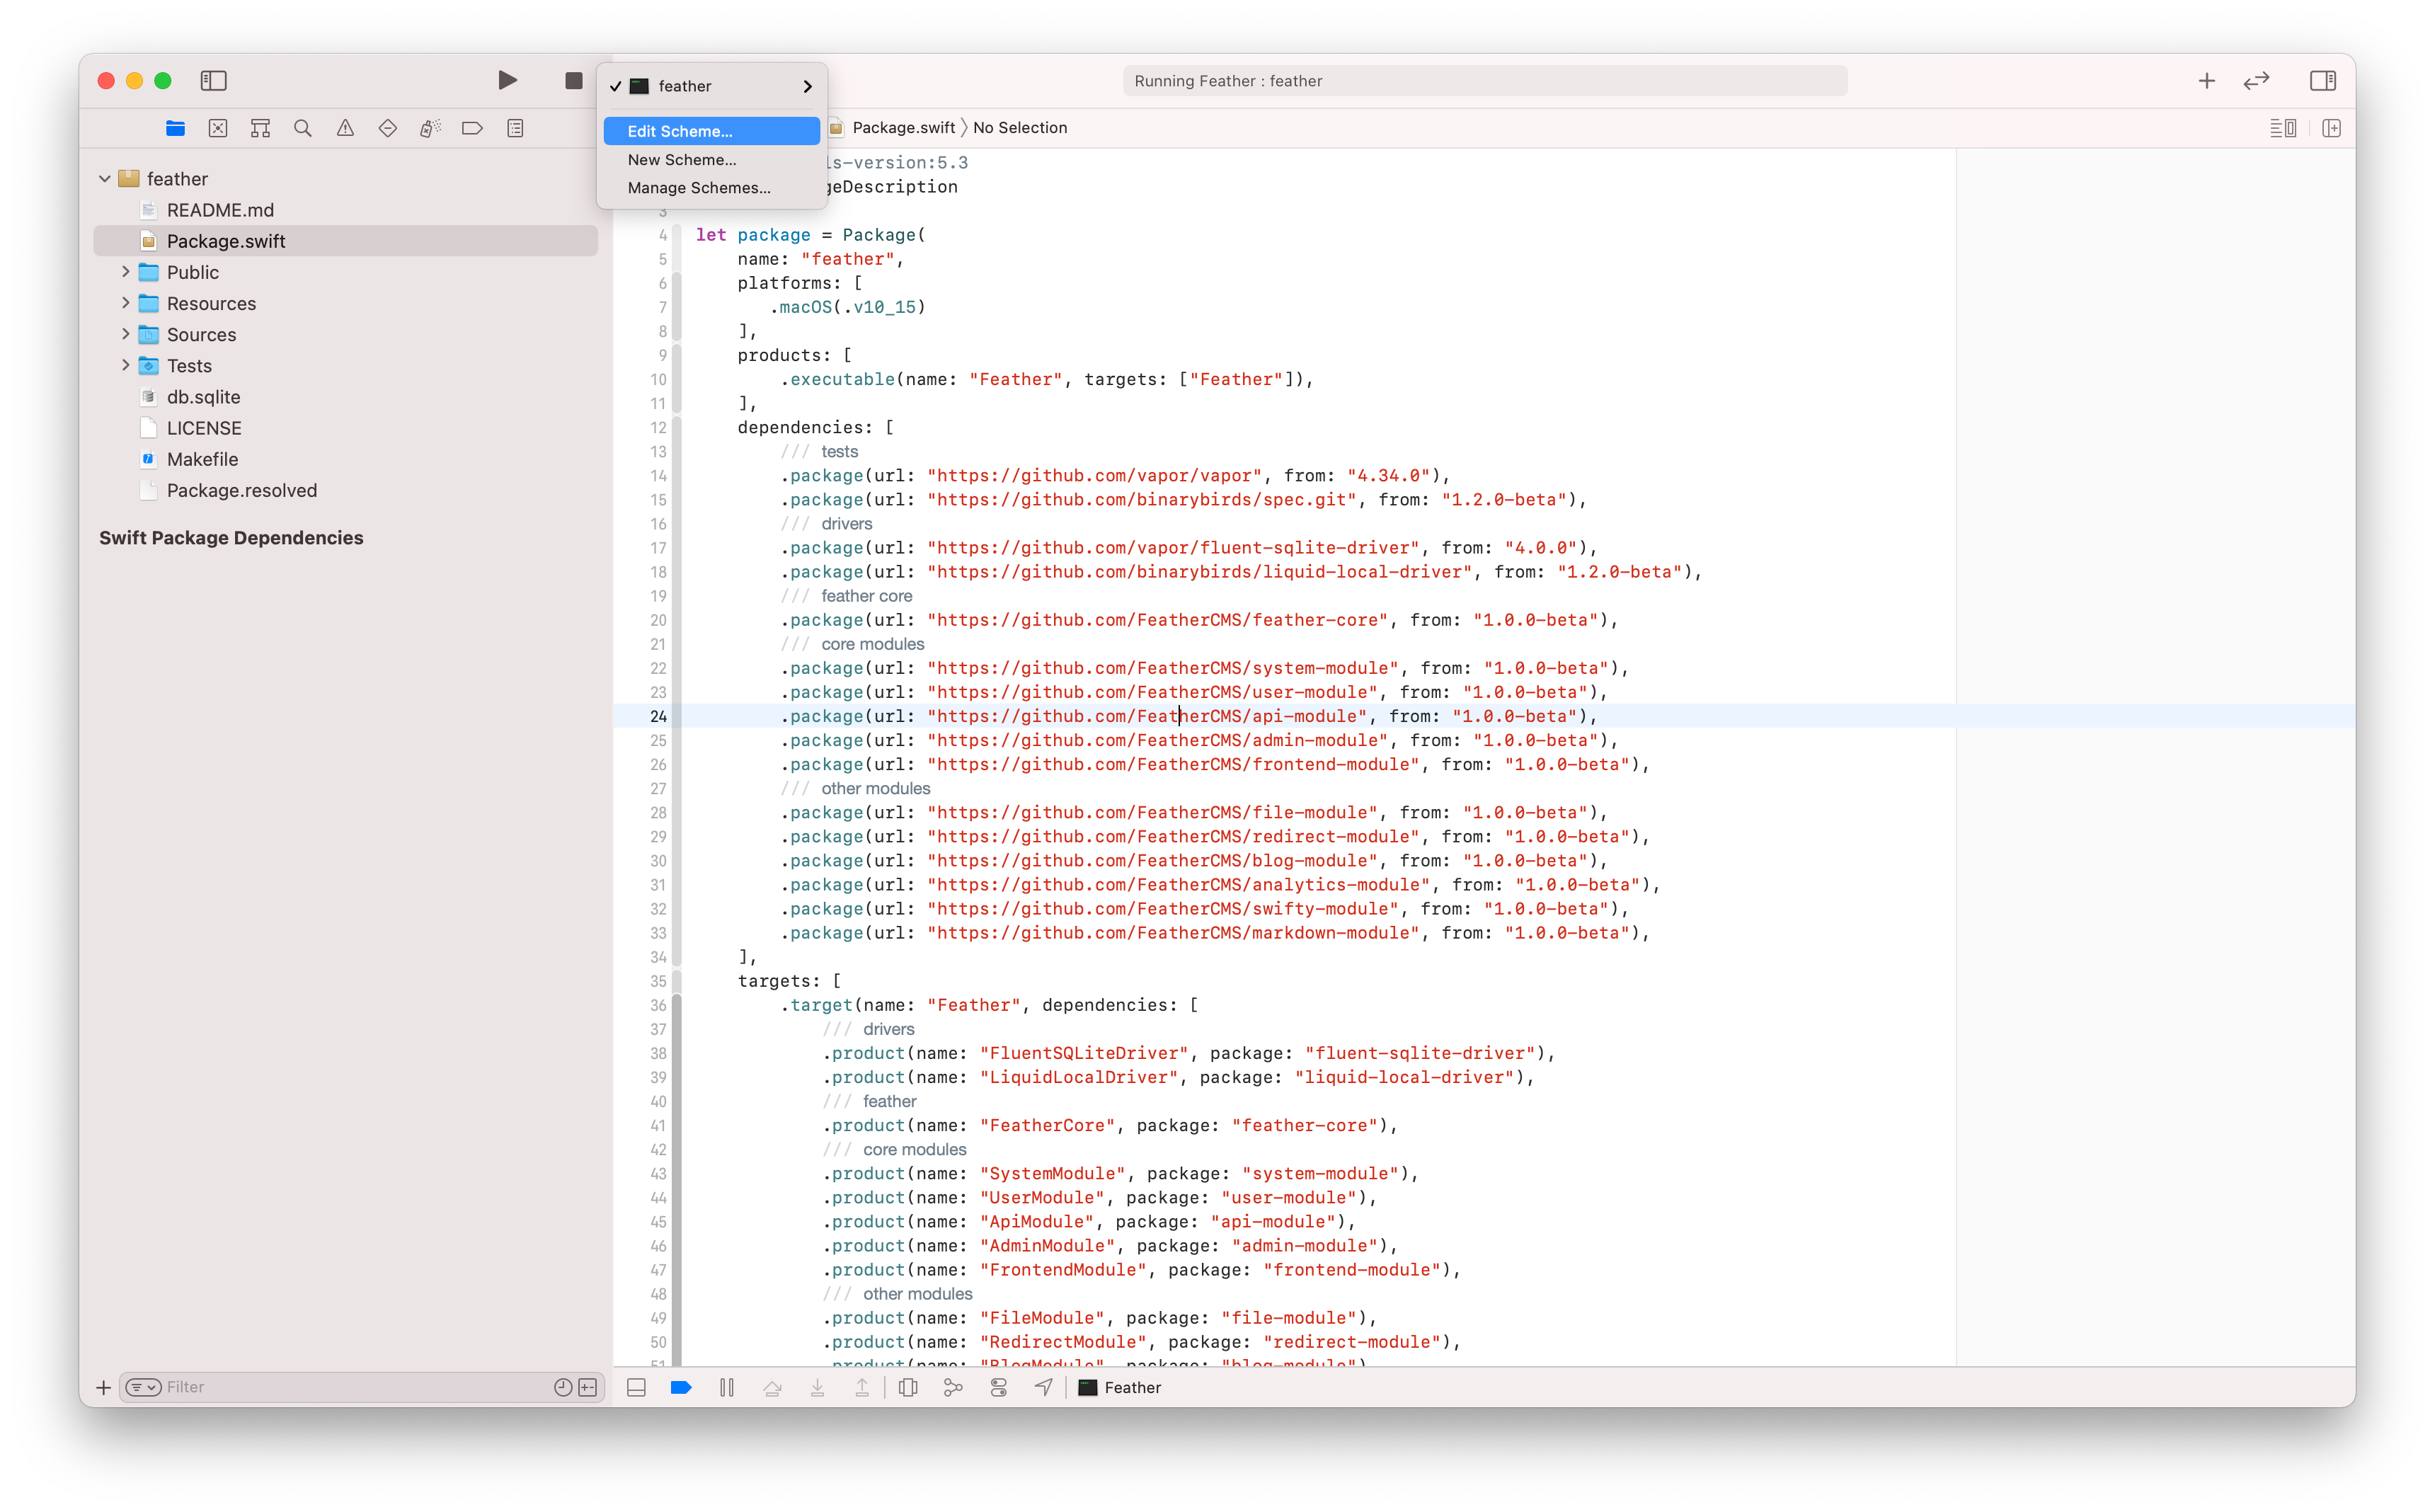
Choose the “Edit Scheme…” possibility from the accessible menu gadgets, this could open a brand new modal window on high of Xcode.
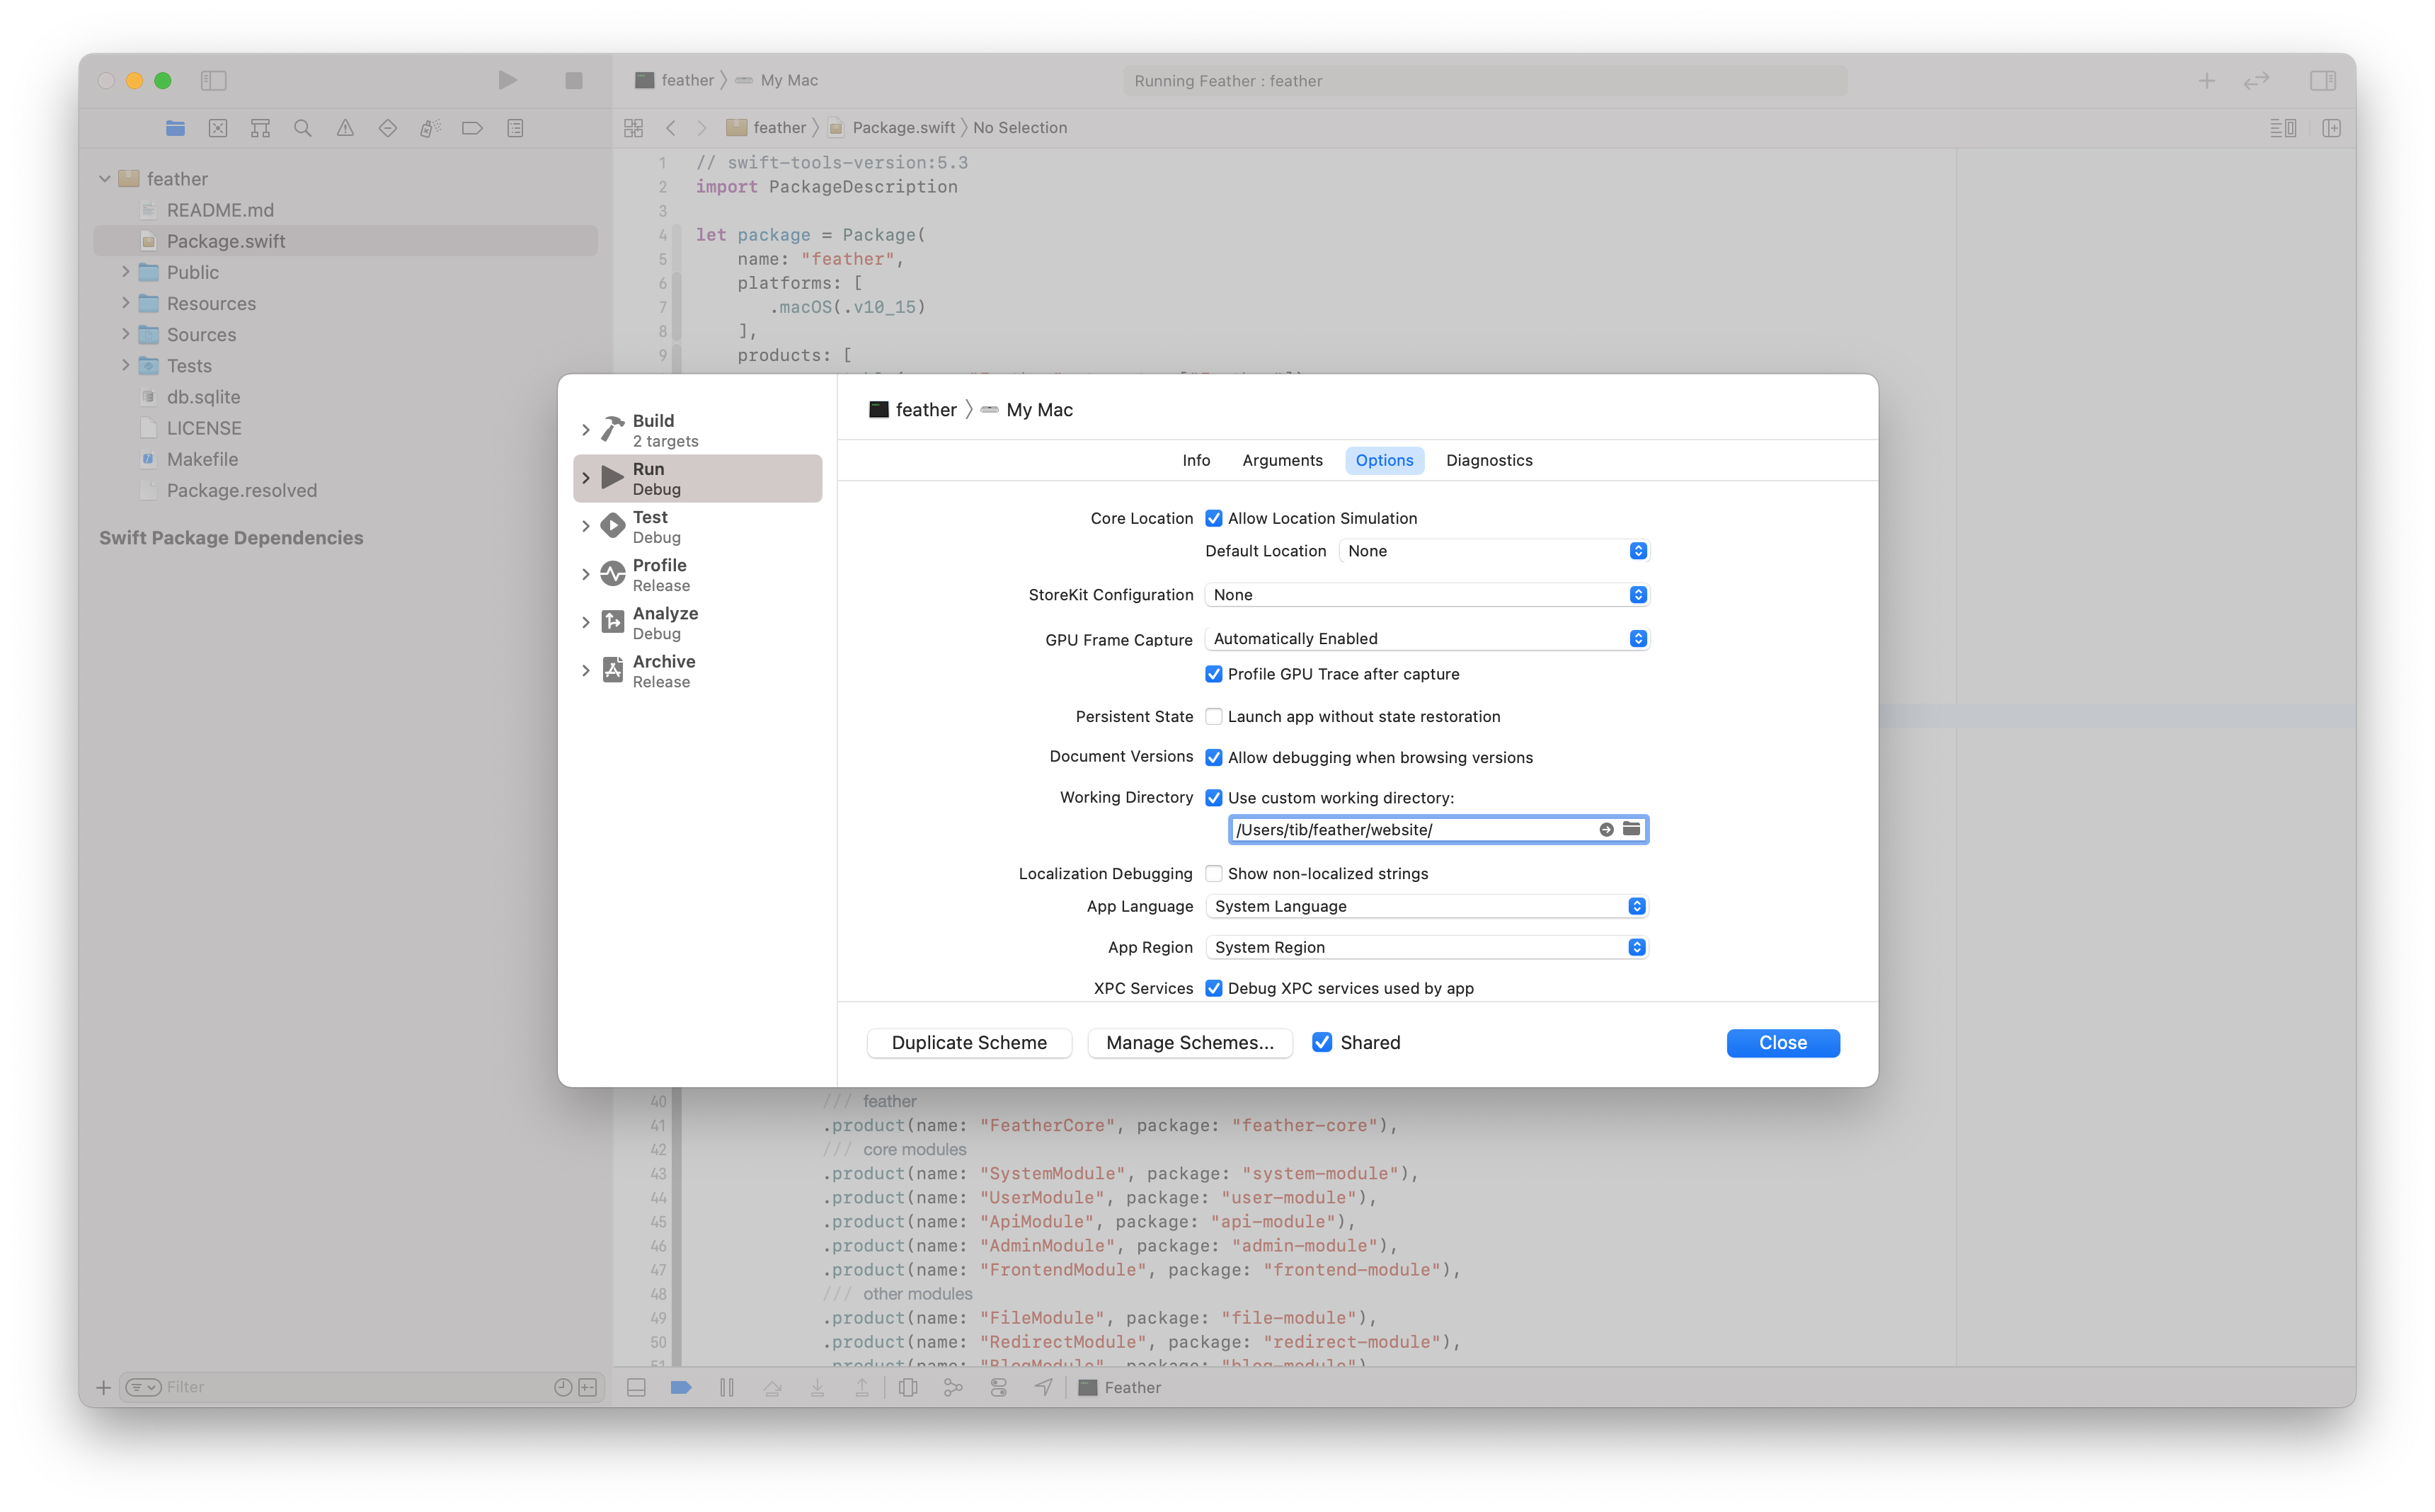
Be sure that the Run configuration is chosen on the left aspect of the pane. Click on on the “Choices” tab, after which search for the “Working listing” settings. Examine the “Use customized working listing:” toggle, this may allow the enter subject beneath, then lastly click on on the little folder icon on the highest proper aspect (of the enter subject) and search for your required listing utilizing the interface. 🔍
Press the “Select” button if you end up prepared. It is best to see the trail of your selection written contained in the textual content subject. Just remember to’ve chosen the correct location. Now you may click on the “Shut” button on the underside proper nook, then you may attempt to begin your server by clicking the run button (play icon or you may press the CMD+R shortcut to run the app). ▶️
When you did the whole lot proper, your Vapor server utility ought to use the customized working listing, you may affirm this by checking the logs in Xcode. The beforehand talked about warning ought to disappear and your backend ought to be capable to load all the required assets with out additional points. I hope this little information will show you how to to keep away from this frequent mistake when utilizing Vapor. 🙏