

When constructing or modifying an FPV drone, one query that always comes up is: Can I mount my motors the other way up? The quick reply is sure, and this setup is named a pusher configuration. This implies the motors and propellers are flipped, pushing air downward relatively than pulling it.

Whereas this configuration has some benefits, notably for cinematic FPV drones, it additionally comes with just a few downsides. On this information, I’ll break down how the pusher setup works, what you have to take into account when switching to it, and the way it impacts flight efficiency and sturdiness.
Additional Readings:
What Is a Pusher Configuration?
In a conventional FPV drone setup, motors are mounted on prime of the arms with the propellers (props) pulling air downward.

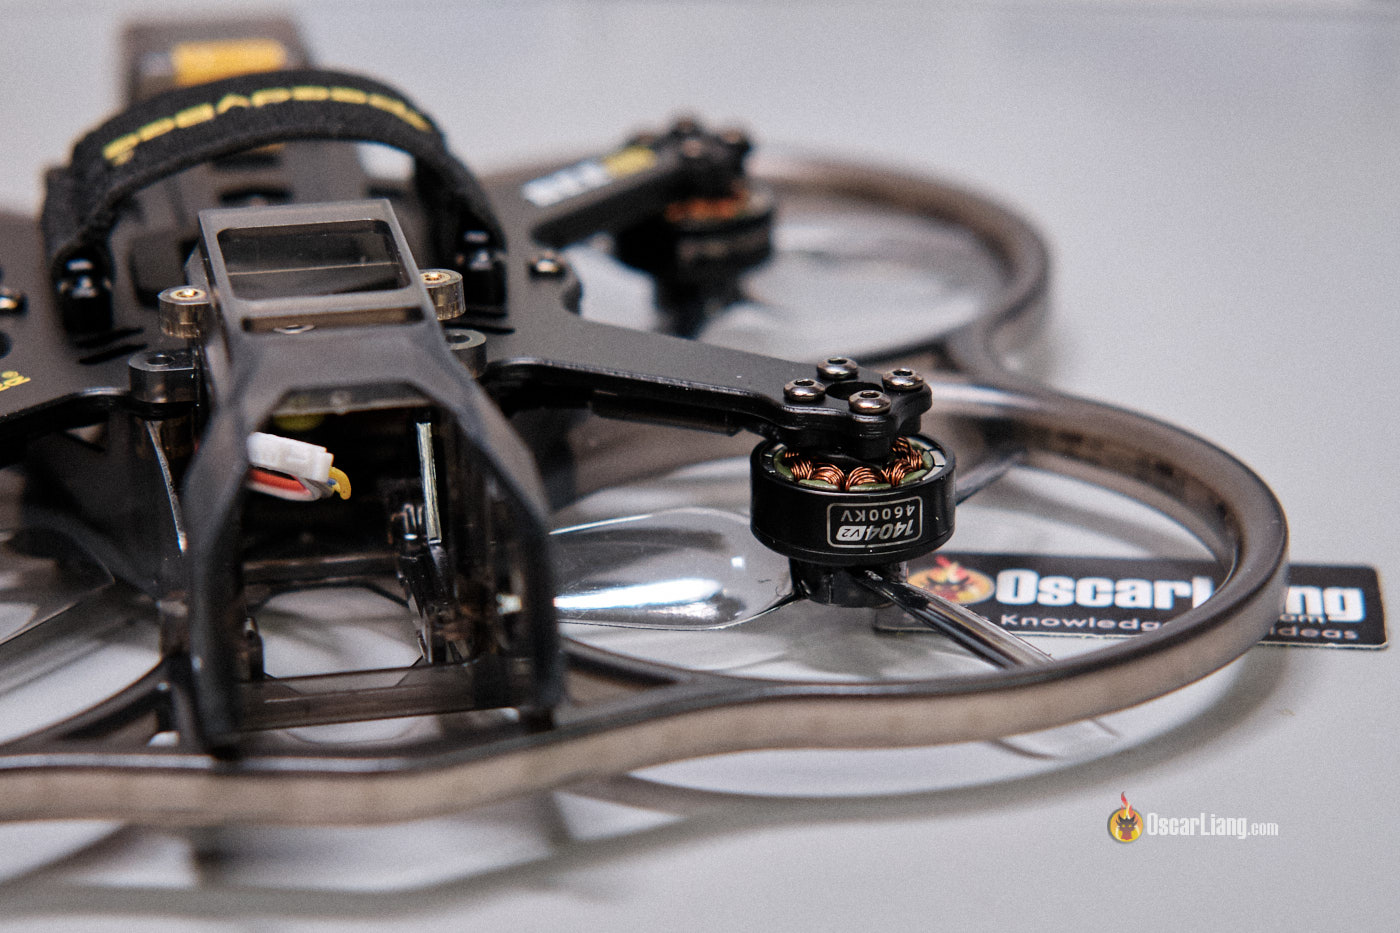
In a pusher configuration, the motors are mounted the other way up, with propellers beneath the arms pushing air downward as an alternative.
This setup is often utilized in cinematic FPV drones to maintain the props out of the digicam’s view. It’s additionally seen in some specialty drones the place aerodynamics or element placement advantages from this structure.
Professionals and Cons of a Pusher Configuration
Professionals:
- Improved Aerodynamics and Effectivity – Some argue that having the arms above the propeller permits extra air to be moved for a similar energy, resulting in barely extra environment friendly flight.
- Higher Digital camera Visibility – Because the propellers are mounted additional away from the digicam, the props grow to be much less prone to seem in footage, making it a horny possibility for cinematic FPV drones.
- Extra Element House – With the props beneath, there’s typically extra room on the highest plate for mounting parts like batteries, motion cameras, or different FPV gear.
Cons:
- Touchdown Challenges – Many drone frames are designed to land on their backside plate. With upside-down motors, the motors and props grow to be touchdown factors, which isn’t very best for sturdiness. Subsequently you’ll in all probability want touchdown gear or taller prop guards to land on.
- Vulnerability to Particles when taking off – When taking off, the props in a pusher setup are nearer to the bottom, rising the prospect of getting obstructed by filth, grass, small rocks or carpet. That is particularly problematic for freestyle, racing, or tiny whoop drones that crash continuously and takeoff from the identical spot.
- Reversing Motor Instructions – Switching to a pusher setup means reversing the motor spin path in Betaflight (or no matter flight controller software program you utilize), which provides additional complexity throughout setup. Not very newbie pleasant.
The best way to Convert Your Drone to a Pusher Configuration
If you wish to change to a pusher setup, observe these steps:
1. Flip the Motors
- Unscrew and mount the motors the other way up.
2. Reverse Motor Rotation in Betaflight
- Because the motors are actually the other way up, they’ll spin in the other way, and you need to reverse it.
- To do that, change motor path within the ESC settings by following this information: https://oscarliang.com/change-motor-spin-direction-quadcopter/
- Then inform Betaflight the motors are spinning the other way by going to Betaflight Configurator → Motors Tab and allow “Motor Path is Reversed”.
3. Flip Over Propellers
- Take away and flip the props the other way up when reinstalling them.
- The forefront ought to nonetheless be going through ahead within the path of journey, although the props are actually beneath the arms.
4. Take a look at Motor Path
- Use the Sliders within the Motors tab in Betaflight to verify all motors are spinning the right manner earlier than arming the drone.
Is a Pusher Setup Proper for You?
The pusher configuration isn’t for everybody. Freestyle, racing and tiny whoop pilots who continuously crash could discover it impractical attributable to propeller obstructions and tough landings. Alternatively, cinematic drone pilots in search of a cleaner digicam view could profit from the setup.
Would you strive a pusher setup in your drone? Let me know your ideas!